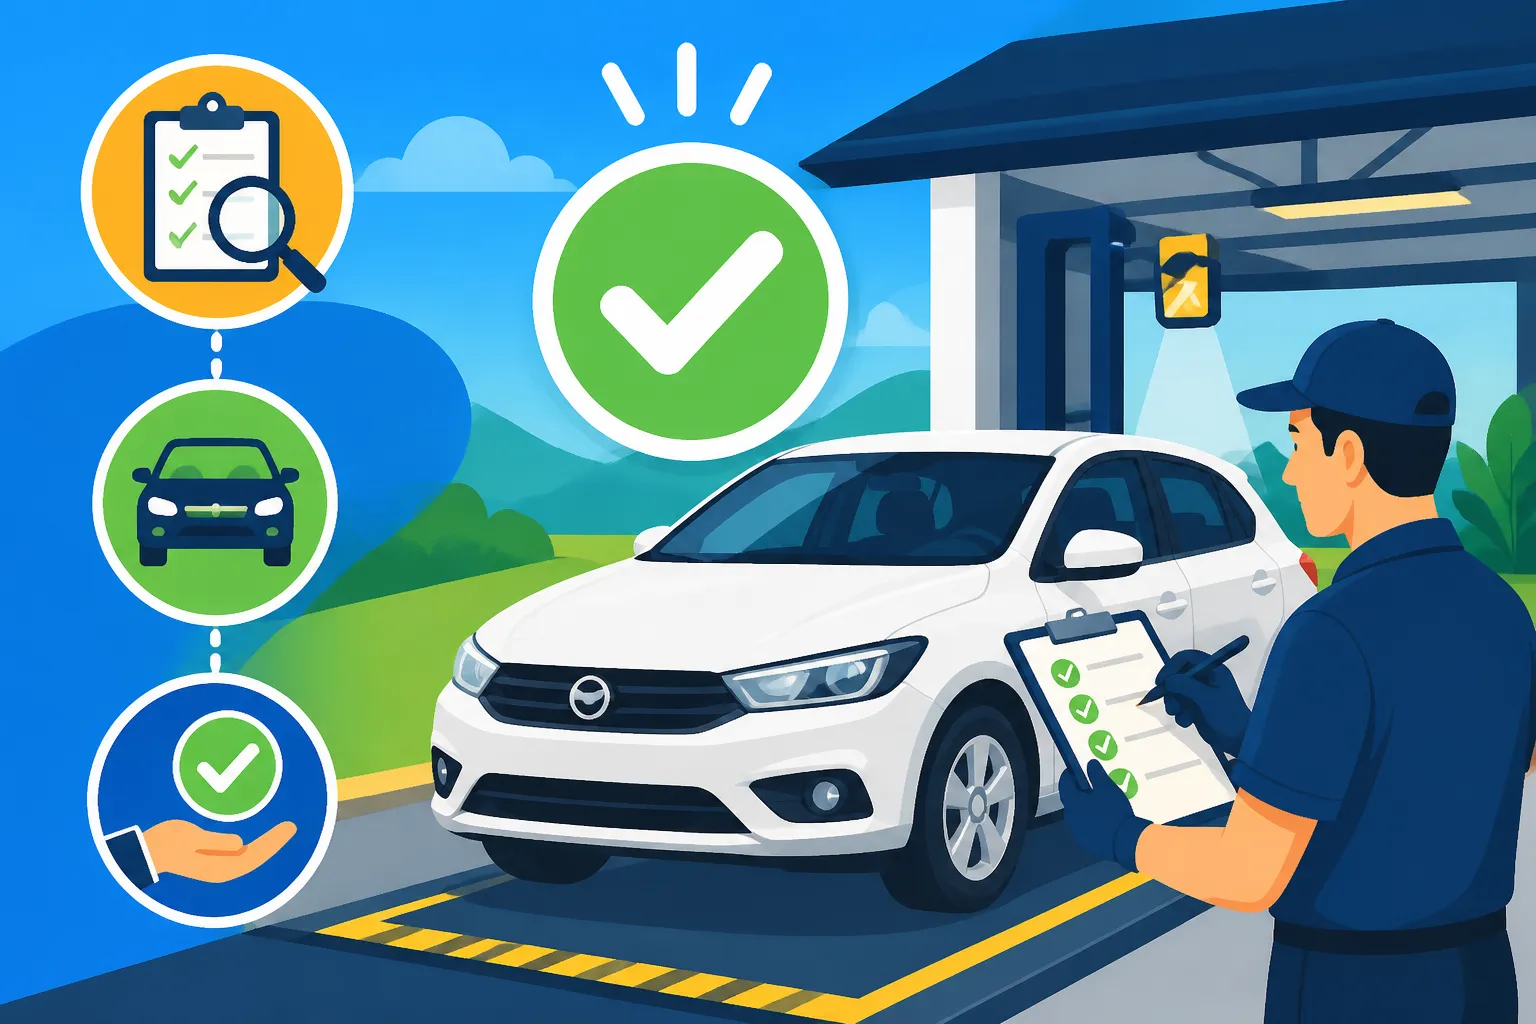
How Do I Get a Riteve (Vehicle Inspection) in Costa Rica?
Alright, mi gente, let's talk about getting your vehicle inspected here in Costa Rica. If you've just bought a car, or perhaps you've been here a while and it's time for the annual check-up, you're likely staring down the barrel of a "Riteve" appointment. Except, of course, it's not actually Riteve anymore, is it? That's one of those little administrative curveballs Costa Rica loves to throw. For years, the vehicle inspection process was handled by a company called Riteve SyC, and the name just stuck. But as of late 2022, the contract changed hands, and now your annual vehicle inspection is conducted by Dekra. This guide is going to walk you through everything you need to know about getting your vehicle inspected by Dekra, from scheduling to passing, so you don't pull out all your hair in frustration.
The Evolution of Vehicle Inspections: From Riteve to Dekra
It’s an entirely understandable mistake to keep calling it "Riteve." Even many Ticos still do! But for us expats, it's important to know the official name change because it affects everything from the website you visit to schedule your appointment to the signs you'll see at the inspection stations. The core purpose, however, remains exactly the same: ensuring that all vehicles on Costa Rican roads are roadworthy, safe, and not polluting excessively. It’s essentially Costa Rica's version of an MOT or annual safety inspection.
The transition from Riteve to Dekra was a bit bumpy, as most big changes tend to be here. There were periods where appointments were hard to come by, and everyone was a bit confused about the new system. Thankfully, things have mostly stabilized now, but knowing the history helps you understand why you might hear conflicting information if you ask around. This mandatory inspection is a critical component of vehicle ownership here, directly linked to being able to pay your annual Marchamo (vehicle registration and road tax), which you can learn more about in our guide on Understanding the Marchamo Annual Vehicle Tax and Riteve in Costa Rica. Without a valid inspection, you can't pay your Marchamo, and without your Marchamo, you can't legally drive. Simple, right? (Spoiler: nothing is ever that simple here, but we'll get you through it.)
Preparing for Your Dekra Inspection
Getting ready for your inspection might feel like preparing for a dreaded exam, but a little bit of foresight goes a long way in saving you time and stress. The goal is to identify and fix any obvious issues before you even arrive at the inspection station. This means taking a good look at your vehicle and gathering all the necessary paperwork. Trust me, showing up unprepared is a one-way ticket to a re-inspection, and nobody wants that.
Necessary Documents and Vehicle Readiness
First things first, let's talk about the paperwork. You absolutely cannot show up without these items, as they are mandatory for the inspection process. If you've just gone through the process of How to Register and Title a Vehicle with the Registro in Costa Rica, you should have most of these readily available.
- Original Vehicle Registration (Marchamo or Título de Propiedad): This is your car's "birth certificate" or proof of current registration. Make sure it's the original document.
- Valid Identification: For Ticos, it's their cédula. For us foreigners, it's your DIMEX card or a valid passport if you are a tourist (though typically, a tourist won't be submitting a vehicle for inspection unless they're planning on purchasing it and then registering it). If you're using your DIMEX, make sure it’s not expired.
- Previous Dekra (or Riteve) Inspection Report: If your car has been inspected before, bring the last report. This helps the inspectors see any prior recommendations or issues.
- Proof of Appointment: Your confirmation from the Dekra website. Print it out or have it ready on your phone.
Beyond the documents, your vehicle needs to be in tip-top shape. This isn't just about passing; it's about safety.
- Cleanliness: Seriously, give your car a wash. It reflects well on you and makes it easier for inspectors to see potential issues like leaks.
- Lights: Check all your lights: headlights (high and low beam), turn signals, brake lights, reverse lights, and license plate lights. Even a single burnt-out bulb is an instant fail.
- Tires: Inspect tire tread depth and pressure. Look for any bulges, cracks, or excessive wear. The tires must meet minimum legal tread depth requirements.
- Brakes: Ensure your brakes feel responsive and don't make unusual noises. While they'll test them on a machine, obvious issues can be spotted beforehand.
- Wipers: Make sure your windshield wipers are functional and the blades aren't torn or hardened. You'll need them!
- Mirrors: All mirrors must be intact and properly adjusted.
- Seatbelts: All seatbelts must be present and fully functional.
- Emissions: For older vehicles, getting an oil change and tuning before the inspection can sometimes help with emissions tests. If your check engine light is on, get that resolved first!
- Fluids: Top up all fluids (oil, brake fluid, coolant, washer fluid). Leaks are a common reason for failure.
If you’re unsure about any of these points, it’s always a good idea to take your car to a trusted mechanic for a pre-inspection check-up. Many local garages offer this service, and it's money well spent to avoid the hassle of a re-inspection. This is especially true if you recently purchased your car and are still getting to know its quirks, a topic we cover in depth in our guide, How to Buy a Car as a Foreigner in Costa Rica.
Scheduling Your Appointment Online
The days of just showing up and hoping for the best are long gone. You absolutely must schedule your Dekra appointment online. The process is fairly straightforward, but it requires a stable internet connection and sometimes a bit of patience.
- Visit the Official Dekra Website: Go to the official Dekra Costa Rica website. Be careful to use the legitimate site to avoid scams.
- Select Your Service: You'll generally be looking for "Inspección Técnica Vehicular."
- Enter Vehicle Information: You'll need your license plate number (número de placa) and sometimes your número de chasis (VIN).
- Choose a Station: Dekra has several inspection stations across the country. Choose the one most convenient for you. Popular ones near the Central Valley include Lagunilla de Heredia, Alajuela, and Cartago. Depending on where you live, you might be heading to Liberia, Pérez Zeledón, or Limón.
- Select Date and Time: The system will show available slots. Pick one that works for you. Weekends and early mornings tend to fill up fast.
- Provide Contact Information: Enter your name, identification number (DIMEX or passport), and contact details. This is where you need to be sure your phone number and email are correct so you receive the confirmation.
- Confirm and Pay: You'll usually pay for the inspection fee online at this stage. Make sure your payment goes through, and save the confirmation.
Once confirmed, you'll receive an email with your appointment details. Print this out, or at least keep it handy on your phone. Getting to the station can be a bit of a trek depending on where you are, so make sure your phone has data or you've got a trusty e-SIM like one from Airalo to keep you connected for navigation. This avoids any last-minute panic when you're trying to find the entrance!
The Inspection Process Itself
You've prepared your car, gathered your documents, and you've got your appointment confirmation. Now it's time for the actual inspection. This is usually the part that makes expats a bit nervous, especially if you’re not fluent in Spanish or familiar with the process. But honestly, it's quite systematic.
Arriving and Checking In
Aim to arrive about 15-20 minutes before your scheduled time. This gives you a buffer for traffic (because Tico Time is real, and so is Tico Traffic!) and allows you to find your bearings without rushing.
When you arrive at the Dekra station, you'll usually be directed to a waiting line for check-in. This is typically done in your car. Have your identification, registration, and appointment confirmation ready. An employee will verify your details, scan your documents, and give you a printed slip. This slip will indicate which lane you need to proceed to for the actual inspection.
You'll then drive to the designated lane. Often, there’s a waiting area where you’ll queue with other vehicles. It's a bit like an assembly line. When it's your turn, an inspector will wave you forward.
What Happens During the Inspection
The inspection itself takes about 20-30 minutes, depending on the type of vehicle and how busy they are. You will remain in your car for most of it, driving it through various stations as instructed by the inspectors. Don't be shy about asking for clarification if you don't understand an instruction – a simple “¿Más despacio, por favor?” (Slower, please?) or “¿Qué tengo que hacer?” (What do I need to do?) goes a long way.
Here’s a general overview of the stations you’ll go through:
- Identification and Visual Check: An inspector will verify your VIN (chassis number) against your registration and check for general condition, body damage, working doors, windows, and the presence of all required documents (fire extinguisher, safety triangles, reflective vest). They'll also check your lights.
- Brakes and Suspension: You'll drive onto specialized rollers that test your braking force and balance on each wheel. They'll also check your suspension system for proper function and excessive play.
- Emissions Test: A probe will be inserted into your exhaust pipe to measure emissions levels. This is a critical one, especially for older diesel vehicles.
- Underbody Inspection: You’ll drive over a pit where an inspector will check the underside of your vehicle for leaks (oil, transmission, coolant), rust, exhaust system integrity, and steering components.
- Tire and Other Checks: Inspectors will check tire condition, tread depth, and also look at things like mirrors, horn, and seatbelts.
Throughout the process, the inspectors are looking for compliance with a rather extensive list of safety and environmental regulations. They are generally professional and efficient. It might feel a bit intimidating, but just follow their lead.
Common Reasons for Failing and How to Rectify Them
Okay, so you've done the inspection, and now you're holding that dreaded "Unfavorable" report. Don't despair! It happens to the best of us, especially with older vehicles or if you're new to the system. Understanding why vehicles often fail can help you prepare better and rectify issues efficiently. Many expats find themselves in this situation, and it’s just part of the journey. If you're still navigating other aspects of settling in, remember there are services like Sirelo that help with international moves, and this vehicle inspection is just another hurdle in setting up your life here.
Typical Failure Points
Based on my own experiences and what I hear from countless other expats, these are the most frequent culprits for a failed inspection:
- Lights, Lights, Lights: Seriously, this is number one. A burnt-out headlight, taillight, turn signal, or even a license plate light will get you a fail. Same goes for cracked lenses or improper light alignment.
- Emissions: Especially for older vehicles, or those that haven't had regular maintenance. Excessive smoke or high CO2/hydrocarbon levels are common. This is why a pre-inspection tune-up can be invaluable.
- Tires: Worn-out tread, uneven wear, or visible damage like bulges or cracks. Your tires are crucial for safety, so they're scrutinized.
- Brakes: Imbalance between left and right wheels, insufficient braking force, or worn brake pads.
- Suspension and Steering: Worn ball joints, tie rod ends, or bushings can lead to excessive play in the steering or suspension, a definite safety hazard.
- Fluid Leaks: Any visible leaks of oil, transmission fluid, brake fluid, or coolant from the engine or undercarriage.
- Windshield Wipers: Worn blades that don't effectively clear the windshield.
- Horn: A non-functional horn (or one that plays a silly tune!).
- Loose or Corroded Components: Things like a loose battery, corroded terminals, or rusty exhaust pipes.
- Fire Extinguisher/Safety Kit: Not having a functioning fire extinguisher or the required safety triangles and reflective vest in your vehicle. These are often forgotten but are mandatory.
What to Do After a Failed Inspection
If your inspection is "unfavorable" (desfavorable), you'll receive a detailed report outlining all the deficiencies. You have a limited time, usually 30 calendar days, to get these issues fixed and bring your vehicle back for a re-inspection (reinspección). The good news is that the re-inspection only checks the items that failed the first time around, not the entire vehicle again.
Here’s your action plan:
- Review the Report Carefully: Understand exactly what failed. Don't guess. The report will list specific categories and descriptions.
- Consult a Trusted Mechanic: Take your unfavorable report directly to a mechanic you trust. Explain that you need these specific items fixed for a Dekra re-inspection. Get a quote and ensure they understand the urgency of the 30-day window. Finding a good mechanic is almost as important as understanding Emergency Medical Care in Costa Rica: What Every Expat Needs to Know for your vehicle's health!
- Schedule a Re-inspection: Once the repairs are done, go back to the Dekra website and schedule a reinspección. Make sure it's within your 30-day window. If you miss this window, you’ll have to pay for and undergo a full inspection again. The cost for re-inspection is typically much lower than the initial inspection, but that's only if you stick to the timeline.
- Bring All Documents (Again): For the re-inspection, bring your original unfavorable report, your vehicle registration, and your identification.
Dealing with repairs and re-inspections can be annoying, but it’s a standard part of vehicle ownership here. Embrace the Pura Vida spirit and see it as just another adventure!
| Inspection Category | Common Reasons for Failure | Tips for Passing |
|---|---|---|
| Lighting System | Burnt-out bulbs (headlights, brake, turn, plate), cracked lenses, improper alignment. | Check all lights regularly. Replace any faulty bulbs. Ensure lenses are clean and intact. |
| Emissions | High levels of CO2, hydrocarbons, or excessive visible smoke. | Regular engine maintenance (tune-up, oil change). Use good quality fuel. Ensure check engine light is off. |
| Tires | Insufficient tread depth, excessive wear, cracks, bulges, improper pressure. | Inspect tires monthly. Maintain correct tire pressure. Replace worn or damaged tires promptly. |
| Brakes | Imbalance between wheels, low braking force, worn pads/discs. | Have brakes inspected by a mechanic. Listen for squealing/grinding. Ensure brake fluid is at correct level. |
| Suspension & Steering | Worn bushings, ball joints, tie rods; excessive play. | Check for unusual noises or looseness in steering. Get regular alignment checks. |
| Underbody/Leaks | Oil, coolant, transmission fluid leaks; rusty exhaust. | Look for drips under your car. Address any leaks immediately. Ensure exhaust system is secure and free of holes. |
| Safety Items | Non-functional horn, worn wipers, missing fire extinguisher/safety kit. | Test horn and wipers. Ensure safety kit is present, extinguisher is charged, and triangles/vest are accessible. |
| Documentation | Expired Marchamo, no original registration, invalid ID. | Keep all original vehicle documents in the car. Ensure your ID (DIMEX/passport) is valid. |
Post-Inspection: Passing, Failing, and Moving Forward
So, the inspection is done. You've either breathed a huge sigh of relief or you're gearing up for round two. Either way, knowing what comes next is key to keeping your vehicle legal on Costa Rican roads.
What Happens When You Pass
Congratulations! Your vehicle has received an "Favorable" status (favorable). This means your car is good to go for another year (or less, depending on its age and the initial inspection type). You'll be given a sticker to place on your windshield, usually in the top right corner, indicating the month and year your next inspection is due. You'll also receive a printed report confirming your vehicle's compliance.
Hold onto that report! It's proof that your vehicle passed. This approval is crucial because it allows you to pay your annual Marchamo. The Marchamo is the annual road tax and compulsory insurance (SOA) that all vehicles in Costa Rica must have. You absolutely cannot pay your Marchamo without a current Dekra approval. This interconnected system is something all drivers need to understand, similar to knowing the rules for Driving in Costa Rica: Licenses, Registration and Rules for Expats (2027). Once you have your Dekra approval, you can proceed to pay your Marchamo at most banks, post offices, or online portals (usually starting in November for the following year).
What Happens When You Fail (Again!)
In the unlikely event that you fail your re-inspection, things get a bit more serious. If you've exhausted your 30-day window and failed again, you essentially have to start the entire process over. This means booking and paying for a new full inspection, not just another re-inspection. It's frustrating, certainly, but it's the system's way of ensuring that vehicles with persistent issues are kept off the road.
If you find yourself in this situation, it’s often a sign that the underlying problems with your vehicle are more significant than initially thought, or that your mechanic might not have properly addressed the issues. At this point, you might consider getting a second opinion from a different mechanic, especially if it's an older vehicle where the cost of repairs might start to approach its market value. While vehicles are generally cheaper here than in some other countries, repair costs can sometimes be surprising. Understanding The Cost of Healthcare in Costa Rica: A Complete Breakdown for Foreigners (2026) is one thing, but your car's health can also hit your wallet hard!
Important Considerations
- Timeliness: Don't wait until the last minute! The month your inspection is due is determined by the last digit of your license plate. For example, if your plate ends in 1, your inspection is due in January. It's always wise to schedule your appointment a few weeks before your due date. This gives you a buffer in case you need a re-inspection.
- Documentation in Your Car: Always keep your current Dekra report, Marchamo receipt, and vehicle registration (Título de Propiedad) in your vehicle. Police can (and often do) ask to see these documents during routine stops.
- Insured for the Road: While the Marchamo includes basic third-party liability insurance (SOA), many expats opt for additional private insurance from the INS (National Insurance Institute) or other providers for more comprehensive coverage. You can read more about options in Understanding INS Health Insurance Plans in Costa Rica (though this link refers to health, INS is also the primary car insurer). This won't directly impact your Dekra inspection, but it's vital for overall safe and legal driving.
- Selling Your Car: If you plan to sell your vehicle, having a current Dekra inspection is a significant selling point and often a requirement for the transfer of ownership (traspaso).
The Dekra inspection, while occasionally a hassle, is a fundamental part of responsible vehicle ownership in Costa Rica. It helps keep our roads safer and reduces pollution, which aligns perfectly with the Pura Vida ethos. By understanding the process, preparing thoroughly, and knowing what to do if things don’t go perfectly, you can navigate this requirement with confidence and keep enjoying the incredible experience of living and driving in Costa Rica.
Disclaimer
This article is for general informational purposes only and does not constitute professional advice. Laws, prices and regulations vary by location and change over time. Consult a qualified professional for guidance on your specific situation.